
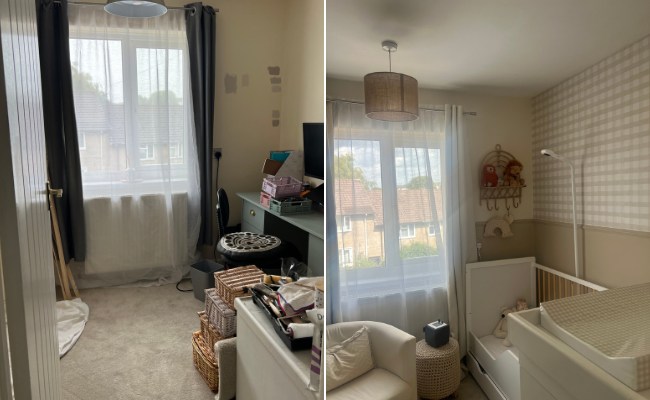
As a keen DIYer and a homes editor, I’m not shy of a home project or five, however, the thought of wallpapering did fill me with a bit of trepidation. It was just a whole new ball game for me, and I was seven months pregnant at the time, but luckily, I had my mum to hand – and it wasn’t her first rodeo. It took us a fair few hours to muddle through together, but we managed to wallpaper a feature wall in my son’s nursery and here is what I learnt in the process…
Choose wisely with your pattern
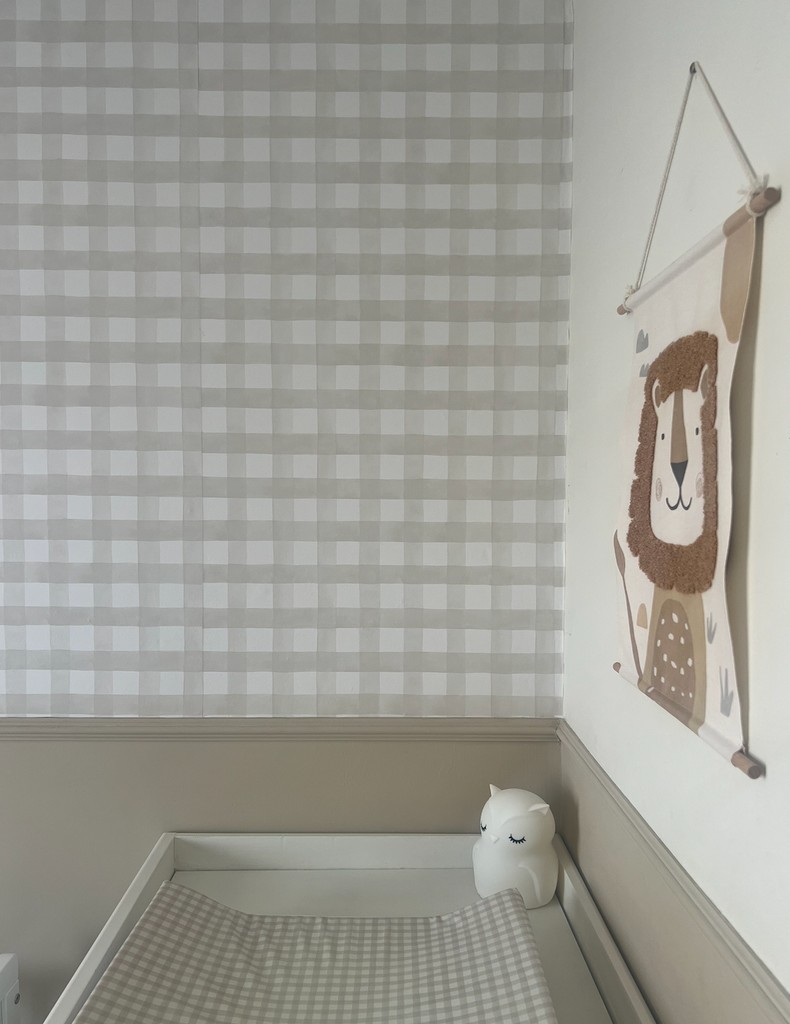
For your first time, I’d suggest starting with something forgiving. Anything with lots of multiple repeats is good as it will be easier to match up. We were working with checks, and it was pretty straightforward.
Order wallpaper with the same batch number
This may seem like a small thing to check, but it makes a big difference. Make sure all your rolls have the same batch number to eliminate any variation between them. The last thing you want is to notice a colour deviation after all the hard work.
Read the instructions
It is important to look at the instructions on the rolls, because did you know that there are different types of wallpaper? Some need you to paste the walls, while others you paste the paper, for example.
Calculate your strips before you start
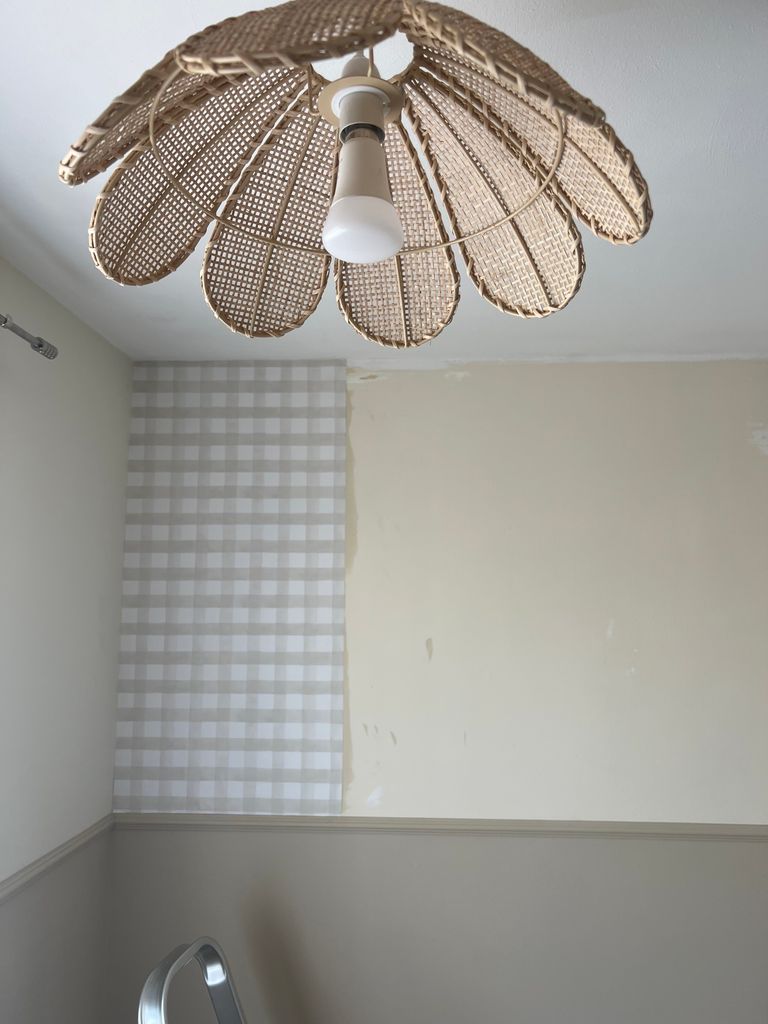
You’ll need to measure the wall you’re covering and divide by the width of your strips to find out how many you’ll need to fill the space. This will allow you to figure out if you’ll need to cut any in half. We ignored the advice to start in the middle and just cut one on one end, but technically, you should cut an even amount off each end piece.
Over measure – or you’ll regret it
You’re better off over-calculating than under-calculating, so always add a few centimetres on before you cut a roll, ready to hang it. I know it’s wasting good paper but it’s better than cutting it too short and wasting the whole thing.
Use scissors, not a blade
Okay, this is a controversial one. Expert advice is to use a blade to cut your paper to fit your space once it is hung, however, with the paper being wet from paste, I found it would tear the paper every time I went in, so I opted for a steady hand and a pair of scissors instead.
Gently does it
You’ll need to use a tool to get the bubbles out, but I’d be keen to warn you not to apply too much pressure when doing so, so that your wallpaper doesn’t move or rip.
Don’t worry about bodged up errors
If you’re a perfectionist, you may struggle with this, but I promise you, it’s surprising how little you’ll notice mistakes. Once you step back, put your furniture back in the room and take a breath, it won’t be noticeable at all.
Touch-ups are possible
Almost a year on from putting my wallpaper up, a tiny corner of it had started peeling due to the room being very humid. I was so devastated to see it but decided to mix up some more paste and see if I could spot repair. It was actually really easy to apply, and re-stick and it looks to be holding up well so before you rip off and start again, give your wallpaper some TLC.